How to render a MVC view in the Umbraco backoffice
- 28/09/2021
- Advanced
- Umbraco 9, Umbraco 8, Backoffice
You are a backend developer and just want to add a custom dashboard or section to the backoffice, probably just to proof something could work a certain way?
But you don't know angular? Best you can do is some javascript? You just want to be able to use a MVC view in the backoffice?
Then you are quite lucky today because I will show you how you can do this!
Before we start keep in mind that in this tutorial I will not be using authorization that would normally be required when calling controllers from the backoffice as that would be to much to talk about in one blog.
Also, using MVC views in the backoffice is not the way to go and should not be used in production but only be used for demos and proofs of concept!
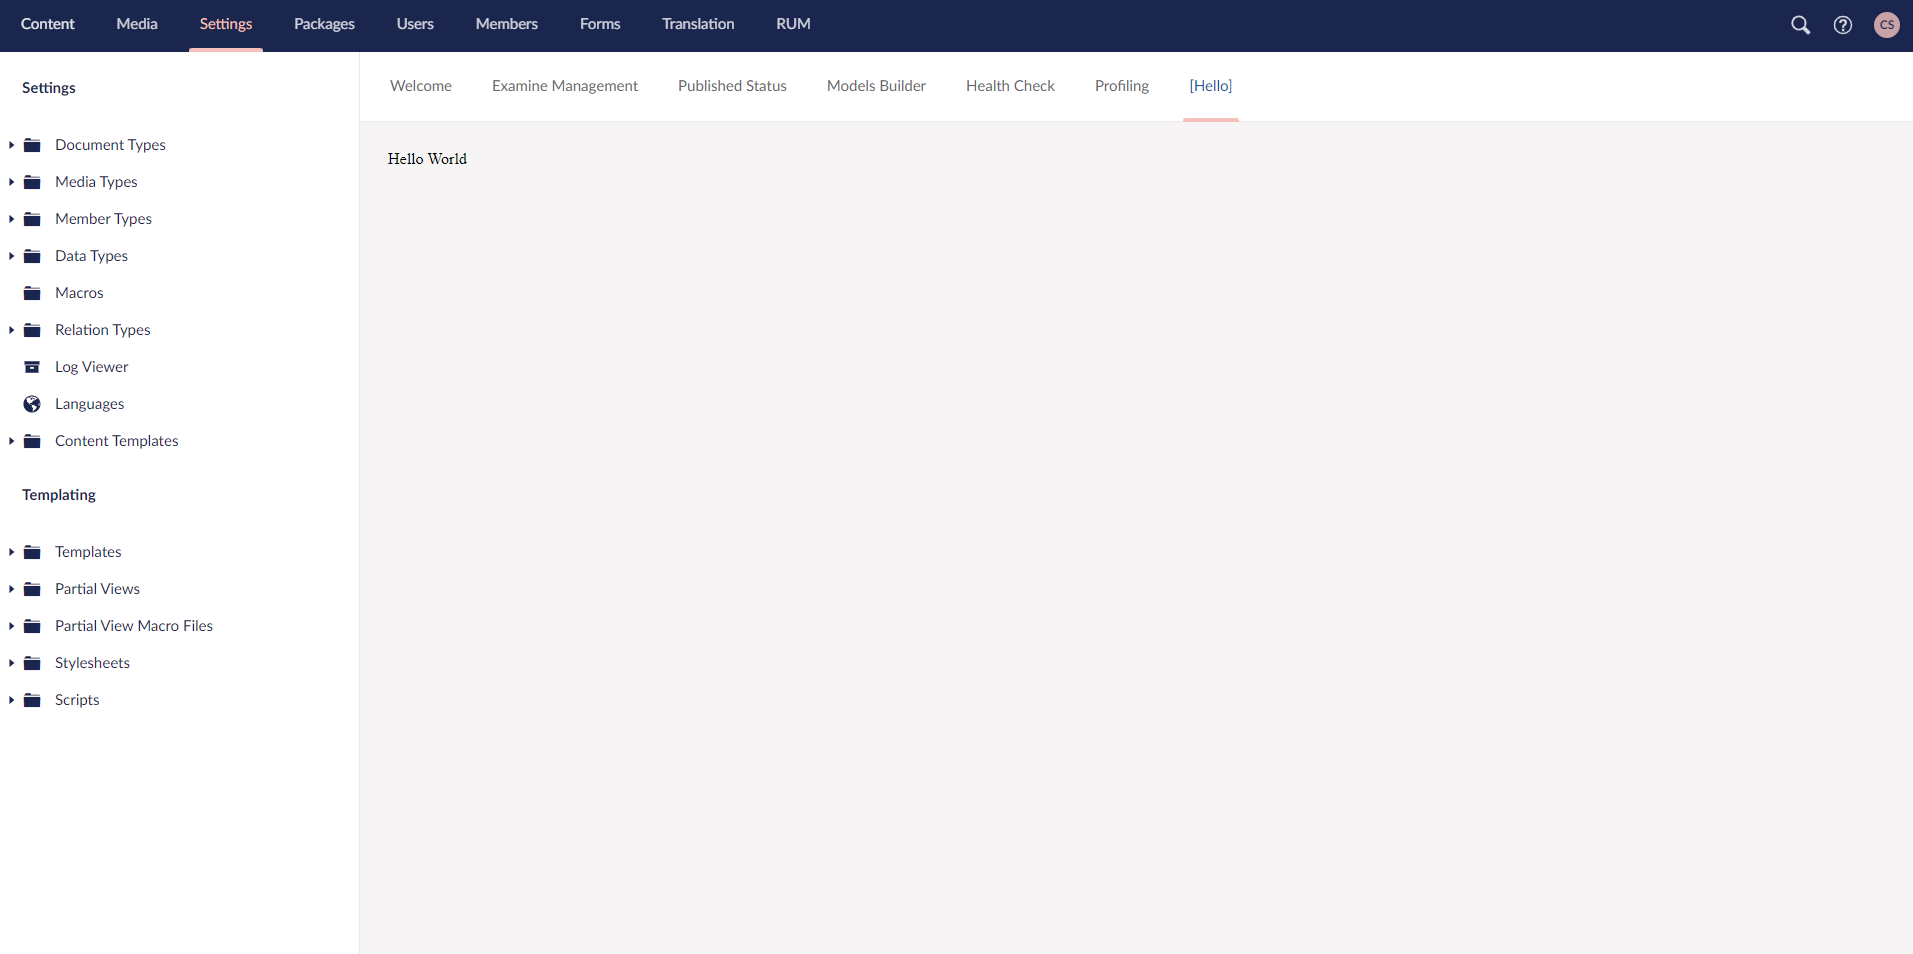
Let's begin with the tutorial by looking at the outcome we should get after finishing it.
Our goal will be to display a "Hello World" text within a dashboard in the Settings section of the backoffice.

First we will start by registering the dashboard.
As a fully fledged backend developer with a deep fear of everything just closely resembling a frontend framework, like e.g. angular, I will of course do that with C# code.
public class HelloWorldDashboard : IDashboard
{
    public string[] Sections => new string[] { Constants.Applications.Settings };

    public IAccessRule[] AccessRules => Array.Empty<IAccessRule>();

    public string Alias => "Hello";

    public string View => "/Dashboards/HelloWorld/dashboard.html";
}
Now Umbraco knows that there is a new dashboard within the Settings section of the backoffice with the name Hello and the view for it will be found in the /Dashboards/HelloWorld folder.
As we plan to display a MVC view we need to create a controller and a view next.
The code for the controller:
public class HelloWorldController : SurfaceController
{
    public ActionResult ShowDashboard()
    {
        DashboardModel model = new DashboardModel()
        {
            Text = "Hello World"
        };

        return View(model);
    }
}
The code for the View:
@@model TestProject.Models.DashboardModel

@@Model.Text
As you can see I just use a basic SurfaceController with a model having just a Text property and send it to the view where we display the property.
Till now nothing special happened, just basic C# code.
But remember that we told Umbraco where the initial view for the dashboard is?
We still need to create that one.
Within the /Dashboards/HelloWorld folder we will create a dashboard.html file and put the following html tag in it.
<iframe style="background: none; width: 100%; height: 100%;" src="./surface/HelloWorld/ShowDashboard">
</iframe>
You may already see what I did there.
The magic is that I call the controller directly by its route as the source of the iframe, that way it will call the controller and return the content of the view.
Depending on the controller type you call the routing can be different, for this example we used an SurfaceController which gets routed like that /umbraco/surface/{controllername}/{action}/{id}
With all that in place you will know see the dashboard in the backoffice looking just like in the screenshot in the beginning!
Finally I wanna round up this blog by giving some pros and cons of using MVC views in the backoffice:
+ No need to know angular
+ Easy way to change the backoffice as a backend developers
+ Good for demos and proof of concepts where it doesn't need to look super fancy
-- Not the Umbraco way of doing it
-- Iframes can take a while to load
-- You need to ensure that you can't just call the controller from outside the backoffice
Overall as a backend developer I often use this way to prove that something can work without the need to ask a frontend developer for help.
It is easy and fast but nothing to put into production!
Hope you liked this article and hopefully it will help you in creating awesome stuff with Umbraco!
If you enjoyed reading I would appreciate if you come back next time when I will talk about the update of my DependencyInjection nuget to Umbraco 9!
If you have any questions, feel free to contact me